Writing 'Hello World' Smart Contract In Solidity Using The Hardhat Framework
Write and deploy your smart contract to a test network


'Hello World' as we all know is used to introduce a programming language to beginners. I will go straight to the point to show you how to write your first 'Hello World' smart contract in solidity programming language. Let's go!
First, we will start by setting up our ethereum development environment. Ethereum has different development frameworks which can be used to compile, test, debug, and deploy a smart contract. Here are some of the popular ones: Hardhat, Truffle, and Remix etc. In this article I will be using Hardhat.
Setting up the development environment with Hardhat
As stated earlier, you can use hardhat to debug, test, compile, and deploy your ethereum smart contract. What is a smart contract by the way? A smart contract is just a piece of code that lives on the blockchain.
Before installing hardhat, you must have node/npm installed in your pc. From version 16 upward.
If you are not sure of the node version you are using, simply type $ node -v in the terminal to confirm.
And If you don't have node installed, head over here to download and install it before proceeding. It takes just a few minutes.
Now, open your terminal, if you are on Windows OS open your command prompt please run as an administrator cause you might get into some errors when installing hardhat.
cd into the directory you want to work in by typing this in the terminal:
cd YOUR_DIRECTORY_NAME
press enter, then create a new directory like this:
mkdir hello-world
cd into the new directory:
cd hello-world
run the next command to create a new package.json file in your folder:
npm init -y
And now we are ready to install our hardhat. Run the command:
npm install --save-dev hardhat
this takes just a few seconds. You may see a message about some vulnerabilities but not to worry, npm is checking to see if any of the packages the library you are installing has any form of vulnerabilities. Every time you install something with npm you will likely see the security checks.
Oops! I ran into an error here, npm ERROR! invalid version. This is from npm. In case you experience the same, read this short blog to fix it before running the command again.
Now we need a hardhat sample project to work with.
Creating a hardhat sample project
Good, to create a sample project run this command, and accept the option to create a sample project. Accept yes to everything:
npx hardhat
This is how it will look:
$ npx hardhat
888    888                      888 888               888
888    888                      888 888               888
888    888                      888 888               888
8888888888  8888b.  888d888 .d88888 88888b.   8888b.  888888
888    888     "88b 888P"  d88" 888 888 "88b     "88b 888
888    888 .d888888 888    888  888 888  888 .d888888 888
888    888 888  888 888    Y88b 888 888  888 888  888 Y88b.
888    888 "Y888888 888     "Y88888 888  888 "Y888888  "Y888

Welcome to Hardhat v0.8.0

? What do you want to do? …
❯ Create a sample project
  Create an advanced sample project
  Create an advanced sample project that uses TypeScript
  Create an empty hardhat.config.js
  Quit
Ok, now we are done creating a sample project. At this point you can open your code editor to view it. I am using VSCode editor, if you are using same, simply enter this in your terminal:
code .
this will automatically open your present working directory in the VSCode then you can view your newly created sample project and the package.json file you created earlier.
Once that is done, now we need to install some other dependencies that our project will need.
Install Hardhat-Waffle and Ethers
These are hardhat plugins that can be used to build smart contract tests and for the integration with ethers.js. This will be needed in the project. Run this:
npm install -D @nomiclabs/hardhat-waffle ethereum-waffle
this could take quite some time, and when it is done run this:
npm install -D @nomiclabs/hardhat-ethers ethers
This plugin makes it easy for you to interact with the ethereum blockchain via the library ethers.js.
So now we are done setting up our development environment. Let's take a look at what we got in our sample project. Under the root directory, click on the contract folder and then the Greeting.sol file, see that hardhat has already created the contract for you and if you run the script you should see the message printed in the terminal. Before we run the script, let's go through each line of code.
//SPDX-License-Identifier: Unlicense
SPDX license Identifier in solidity specifies the license the contract is using. This is written in the first line of the smart contract.
pragma solidity ^0.8.0;
This second line specifies the version of the solidity compiler that our contract is using.
import "hardhat/console.sol";
Hardhat is so cool, with this line of code we can do some console log in our contract.
 contract Greeter {
}
Every solidity project starts with the word 'contract' then the name of the contract and curly braces to wrap the entire code.
string private greeting;
This is called a state variable in solidity. It is of type 'string' which means the value of the variable will be a string and it is a private variable that can not be used outside this contract.
constructor(string memory _greeting) {
        console.log("Say hello to Michy!", _greeting);
        greeting = _greeting;
    }
We use the constructor to initialize our state variable. And once the contract is first created, the constructor will print out that line. You can customize the line to say whatever you like.
 function greet() public view returns (string memory) {
        return greeting;
    }
This public view function will return our variable.
And for this last function:
 function setGreeting(string memory _greeting) public {
        console.log("Changing greeting from '%s' to '%s'", greeting, _greeting);
        greeting = _greeting;
    }
Here we are reinitializing the variable to a new message. So, that's it. This is how you can create a simple hello world contract in solidity with the hardhat framework.
Deploy the contract to a testnet
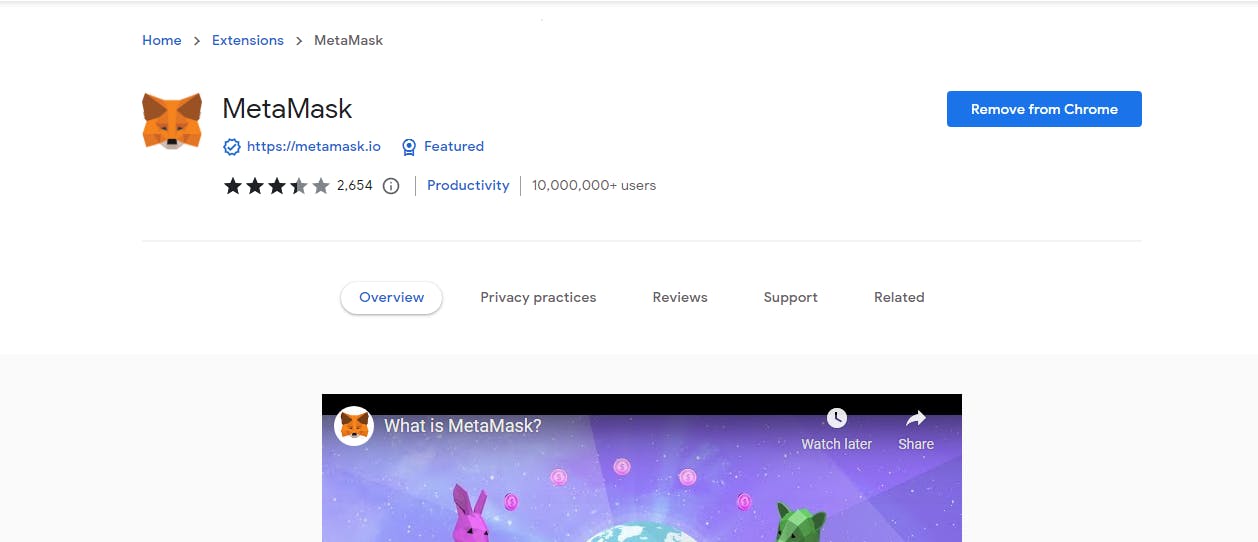
Now we need to deploy the contract to a testnet. To do that, first, you will need an ethereum wallet, there are a lot of them but I'm using metamask. Click here to download and install Metamask, add it to your browser extension and signup, ensuring to keep your recovery phrase safe!
 We need a wallet to get our Ethereum address and private key to use in our project.
Secondly, you need an alchemy account, signup and go to the dashboard. This is my dashboard. You can see my existing apps.
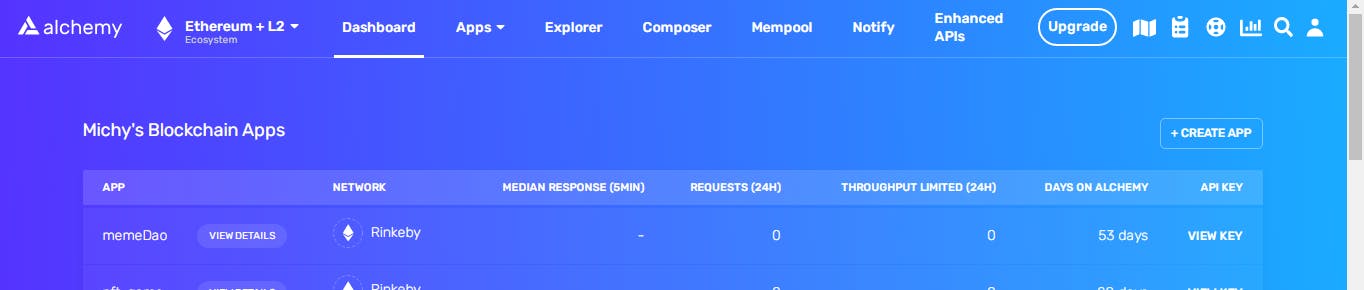 Now what does alchemy do? Alchemy aids our smart contract creation transaction so that it can be picked up by miners as quickly as possible...read more about the alchemy API.
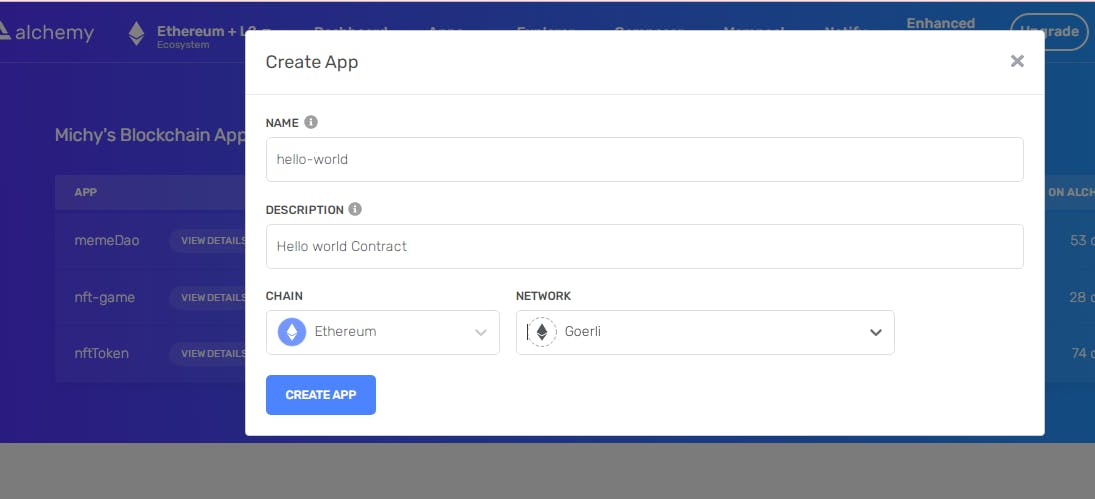
On your dashboard, click on +CREATE APP enter a name, any description you like, select Ethereum for the chain, and Goerli as the network then create.
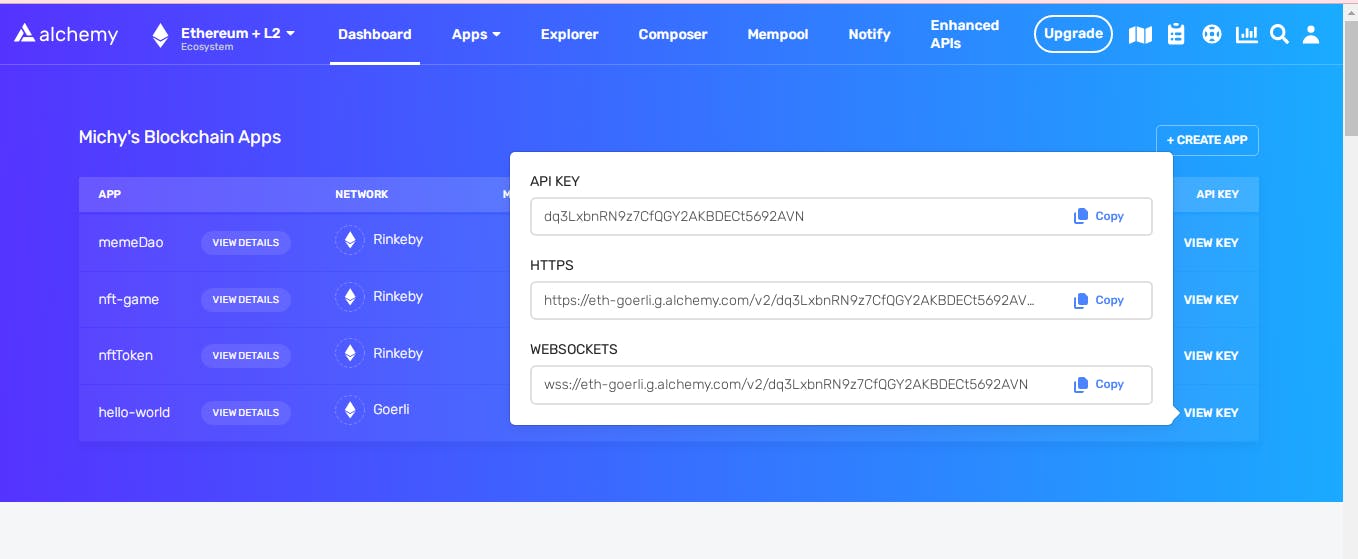
 click on VIEW KEY from the app you just created and copy the https url key. It will be used in our project. This key should be kept private to you, don't share or show it. I only created this app as a sample for this project and will delete it afterward.
 Now that we have our wallet and alchemy account, we need a
 .env file to save our keys.
Run this command to install dotenv:
npm install --save dotenv
This will install the dotenv package and will allow us to use the .env variable.
When done, create a .env file in the root directory of your project. That's under the 'hello-world' project directory. Add this to the file:
STAGING_ALCHEMY_KEY=insert-your-alchemy-key-here
PRIVATE_KEY=insert-your-private-key-here
Now paste the alchemy API key you copied earlier to the 'STAGING-ALCHEMY_KEY' space.
Note: Do not commit this file to github, it contains your private keys and anyone with it can hack your account. Add a line for .env to your .gitignore file if it's not already there. Looks like this:
node_modules
.env
coverage
coverage.json
typechain

#Hardhat files
cache
artifacts
This will prevent it from being committed to github.
To get your private key, open that little extension icon at the top right of your browser. I'm using chrome browser and this is how it looks
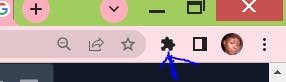 click on metamask, wait a few seconds for it to come up then enter your password to sign in.
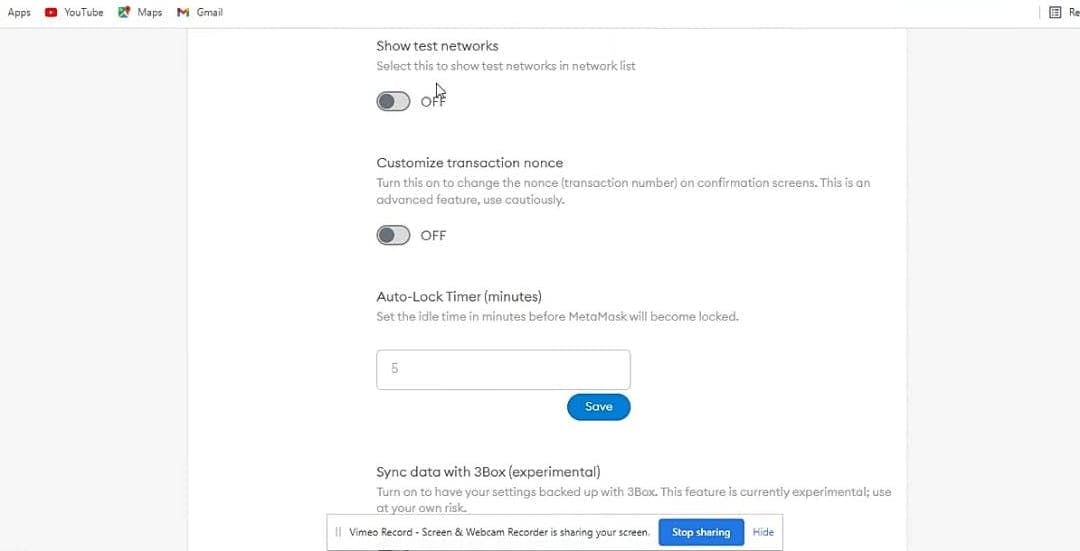
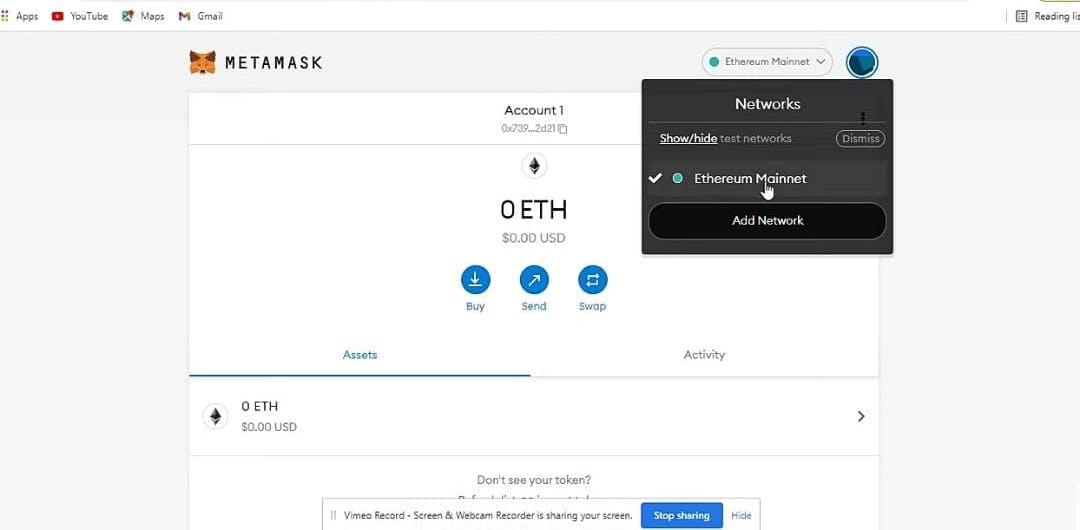 we have just the ethereum mainnet here and it uses real money, because this is a learning project, we will use the testnet instead, it's a clone of the mainnet and it uses fake money. Let's enable it. Click on that 'Show/Hide' testnet then scroll to 'Show test networks' and turn it on.
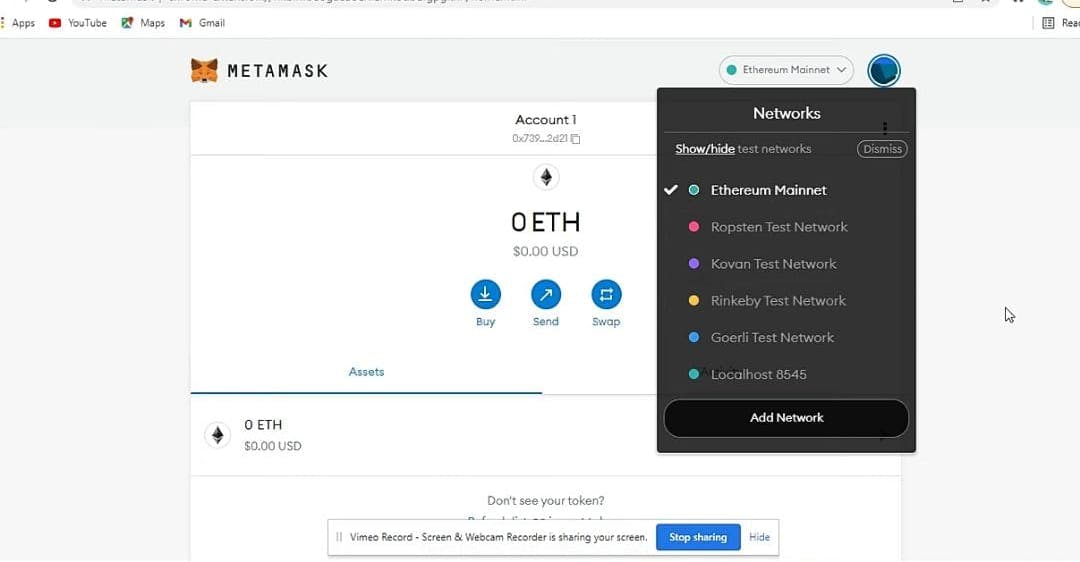
Now go back and you will see that all the ethereum test networks are visible. Click on the Goerli test network because that's what we will be using.
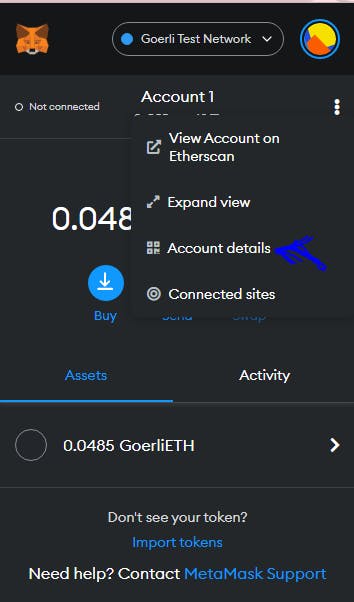
To get your private key, click on the three dot icon at the top right and choose 'account details'
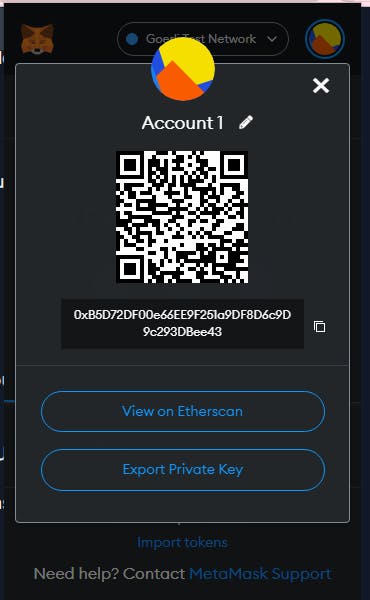
Click on 'export private key' this will ask for your password then copy the key, go back to your project and paste it in the 'PRIVATE_KEY' space in your .env file.
 Keep this key private to you alone, do not push to github or share it because it's the same key with your mainnet and anyone that has access to it can hack your account.
We need to change the hardhat.config.js file. Copy this and replace it with the content of your hardhat.config.js file:
  require('dotenv').config();
  require('@nomiclabs/hardhat-waffle');

module.exports = {
  solidity: '0.8.0',
  networks: {
    goerli: {
      url: process.env.STAGING_ALCHEMY_KEY,
      accounts: [process.env.PRIVATE_KEY],
    },


  },
};
So we are configuring the hardhat.config.js file to use our .env variables securely.
Now, let's take a look at the actual deployment script. I made a little change to the sample-script.js.
 const main = async () => {
    //@dev this will compile the contract and generate necessary file to work with the contract under artifact directory
   const gameContractFactory = await hre.ethers.getContractFactory("Greeter");

   //@notice deploy the contract with our greeting
   const contractFactory = await gameContractFactory.deploy("Hello, World!");

   //@notice wait for the contract to officially mine and deploy to the local blockchain
   await contractFactory.deployed();

   //@notice this will print out the message and your contract address
  console.log("Contract deployed to ", contractFactory.address);


}
const runMain = async () => {
   try{
       await main();
       process.exit(0)
   } catch(error) {
       console.log(error);
       process.exit(1);
   }
}
runMain();
I commented the lines so you understand what they do. Copy this and replace it with the one you got.
Now we are ready to run our script. First, let's compile the script by running this command:
npx hardhat compile
This will compile the contract and generate artifacts and cache folders in your project directory.
Here is the outcome:
$ npx hardhat compile
      compiling...
compiled 2 solidity files successfully
Now, in order to run our test script, we need to have 'chai' installed. Let's do that
npm install --save-dev chai
it makes testing much easier. Now run the test:
npx hardhat test
Here is the outcome:
$ npx hardhat test

  Greeter
Deploying a Greeter with greeting: Hello, world!
Changing greeting from 'Hello, world!' to 'Hola, mundo!'
    √ Should return the new greeting once it's changed (5494ms)


  1 passing (6s)
Really cool! now let's deploy our contract locally:
npx hardhat run scripts/sample-script.js
Here is my outcome:
$ npx hardhat run scripts/sample-script.js

Deploying a Greeter with greeting: Hello, World!
Contract deployed to  0x5FbDB2315678afecb367f032d93F642f64180aa3
Awesome!
So now the main thing, deploying to the testnet. In order to do that you will need to get eth. That's the ethereum money to pay for transaction fees or gas fees. You pay for every transaction done on the blockchain. If we were to use the ethereum mainnet we would need real money for that. But for testnet we use fake eth. So how do we get the fake eth? We will ask the network for some. Since we are using the Goerli testnet, this fake ETH will only work on this particular testnet. Go to this faucet and grab some fake eth. Open your metamask, copy your wallet address then go paste it there to get your eth. Make sure you are on the 'Goerli Test Network'.
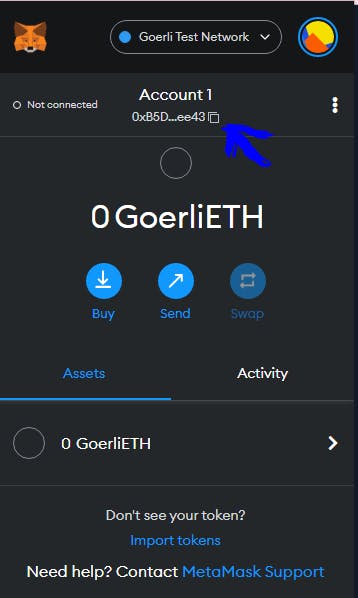 After you request the eth, wait a minute then check your wallet you'll see it there.
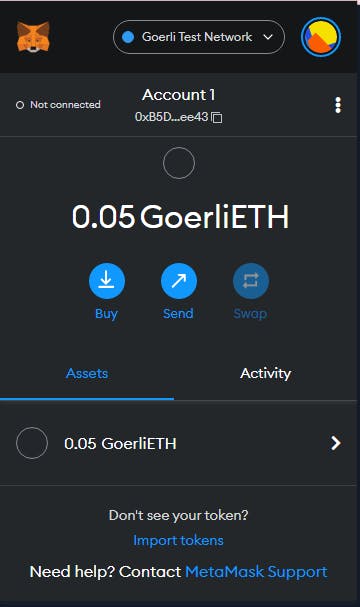 I received 0.05eth, normally it should be 0.01, if you have your alchemy account linked to the faucet you will receive more.
Once that is done, let's go back to deploying our contract. Run this command:
I received 0.05eth, normally it should be 0.01, if you have your alchemy account linked to the faucet you will receive more.
Once that is done, let's go back to deploying our contract. Run this command:
npx hardhat run scripts/sample-script.js --network goerli
Here is my outcome:
$ npx hardhat run scripts/sample-script.js --network goerli

Contract deployed to  0x1d4dE526dDFE5ACE8f059ED92C4754692F0670c3
Amazing! you just deployed your smart contract to the blockchain, woaw!!
Your comments and reactions are welcome. Connect with me on Twitter and Linkedin